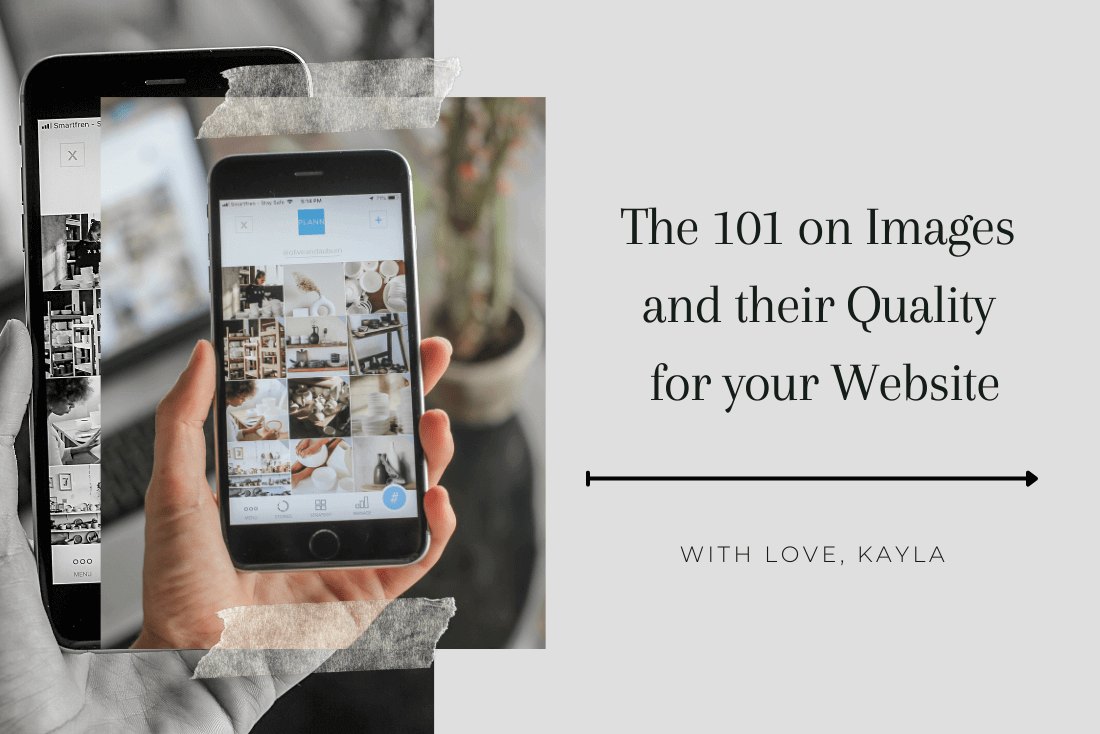
We all love a good image, especially when it’s part of a websites design and used correctly. From stock photos to your own custom shots, images can help make your website stand out from the crowd and provide a professional and personalised feel for your brand. But there is so much to consider when deciding which images are the right ones for each page your website, there are some key tips you need to know.
In this blog post, I will be providing the 101 on images and their quality for your website, to help give you a better understanding of how to get the most out of your website design and content.
1. Try take and use your own images
It’s always best practice to use your own images, rather than stock photos. This is because you know exactly where the photo was taken and who it features – meaning you can avoid potential copyright issues.
Taking your own pictures for a website also makes sure that the image is inline with your content and depicts exactly what your business does. If budget allows, hiring a professional photographer to take these shots will ensure the best quality photos for your website. I would recommend this if you are selling products on your website, as the quality of the photography will help increase conversions (sales).
If your business does something along the lines of hair dressing, pet grooming, tattoos, or anything related to design, art or physical services that require visuals – then it’s even more important to have good quality photos of your work.
2. Use stock images as replacements
If you don’t have the resources to take your own photos or the quality of your camera is not so great, you can always source stock photos from online photography websites. Many stock images come with a fee, however there are some websites that can offer free stock photos (see my post on this here).
When selecting the right images for your website, think about how it will make you feel when you look at it and whether it’s relevant to your content. Make sure they match with the rest of the design of your website too – that it fits with the overall look and feel.
3. Title your images properly
When you are preparing to send images to your website designer, it’s easy to forget one very important step – title them properly! This is essential for SEO (Search Engine Optimisation). Having a descriptive alt text means that search engines can understand what the image is about and will help your website rank for related keywords.
For example, if your image is of an Australian Beach, you would use something like “Sydney beach with blue sea and yellow sand”. It’s also important to use hyphens instead of underscores when titling photos or any other web content.
4. Don’t send images via WhatsApp
A common mistake when sending images to your website designer is using a platform like WhatsApp, or even trying to email when the image size is too large. Both of these are wrong! Platforms like WhatsApp compress the image quality, meaning that it doesn’t look as clear when used on the website – so always use a file sharing platform like Dropbox, Google Drive or WeTransfer.
5. Make sure the images match with the template
Images are a great way to add personality and create an emotional connection with your website visitors. It is important to work with the template in terms of image size and orientation. This means that if the template has a landscape image, make sure the photo you would like to use in that design space is the same orientation (not portrait). Otherwise, it won’t fit properly in the template or design. This works the same if the layout uses a portrait image or if it requires a small or large image in a specific section.
6. Understand when to use busy and non-busy imagery
It’s important to consider the overall design of your website before selecting the images. Remember, a websites content is the most important aspect, not the image itself. Try to use images that compliment what you are saying on your website, but that doesn’t take away from the text or design.
When selecting images, think about how much information is included in the photo and try to use busy imagery for very simple designs, or non-busy imagery for detailed website layouts or sections. If there is text placed above an image, always opt for a simpler image so people focus on the text more than the visual.
7. Optimise image size for web (not resolution!)
The last important point to consider is the size of your images. Make sure they are not too large or too small. Most of the time, I prefer my clients to send higher quality images so I can optimise them for their website.
Optimisation means making them smaller in size (not losing the quality!), so they don’t slow your website down or take too much time to load. This is different from resolution which affects the quality of the image itself.
And there you have it!
With these simple tips in mind, you will be ready to prepare beautiful images for your website that will help make your content even more engaging and beautiful. Good luck! and if you have any questions, feel free to email me on kayla@thebrandgypsy.com